
You may be able to improve a crushed crown, a flattened front, or an uneven brim, but first find out what actually changed. To reshape a baseball cap, check its care label, crown support, brim insert, fabric, and decoration before adding moisture or heat. Start by gently easing the affected area toward its intended shape and supporting the cap in that form.
If its construction allows, controlled moisture or steam may help with some wrinkles. A creased internal support, warped insert, or damaged adhesive may prevent a full recovery. The aim is to restore the cap you have, not force it into a different style.
Before You Reshape a Baseball Cap, Check Its Construction
A baseball cap is more than its visible shell. The crown, front panel, brim, and sweatband can include different layers, and the cap may also carry embroidery, a patch, print, or bonded trim. Those details determine whether gentle hand forming is enough and whether added moisture or steam is appropriate.
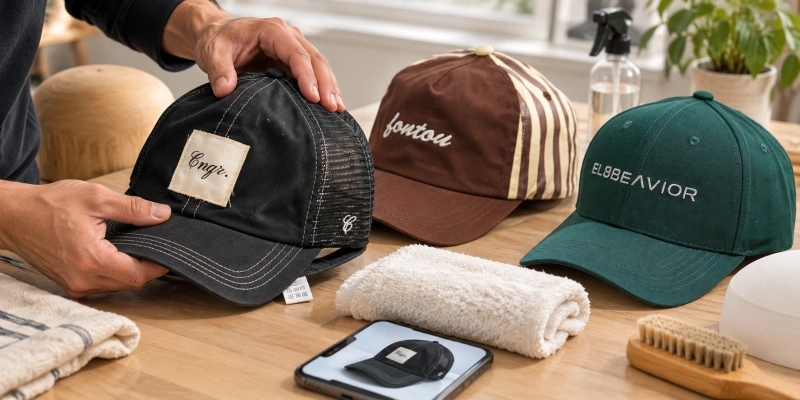
If you need help naming a component, see the parts of a baseball cap. Read the care label first. If you cannot identify a sensitive component, avoid treating the entire cap with heat or water to fix one small area.
Crown and Front Support
Feel the crown without crushing it further. A soft front may have room to return to its relaxed volume when supported. A reinforced front depends more on its internal backing; if that layer has a sharp crease or has separated, smoothing the outer fabric alone will not rebuild it. Our guide to structured vs unstructured hats explains the construction difference. It does not tell you that either type is always easier to restore.
Brim and Internal Insert
Look along the brim from the front and side. Is one edge lifted, is the whole brim twisted, or is the insert itself sharply folded? The brim is a layered assembly with a hidden insert whose material and firmness vary. You cannot establish its tolerance for bending or wetting from the shell fabric alone. Avoid folding it sharply to test it.
Fabric and Decoration
Check for dark dye, coatings, foam, leather-like patches, embroidery backing, printed films, and adhesive edges. These may respond to moisture and heat differently from the main fabric. The hat materials guide explains why the complete finished cap, rather than a single fiber name, must guide care decisions. If an important cap has an unknown finish or fragile decoration, consider professional help before using steam.
Identify What Has Lost Its Shape
Compare the cap with a reference photo of its original profile if you have one. View it on a level surface and, if possible, on the wearer. A brim can look uneven because the front panel is leaning; a crown can appear flat because the sweatband has shifted. Identify the component before you try to correct it.
| What You See | Check First | Conservative Starting Point |
| Crushed crown | Soft or reinforced front; visible creases and seam alignment | Open the crown gently and support its normal volume. |
| Collapsed front panel | Backing, foam, adhesion, and logo position | Support the panel; stop if the internal layer stays folded or separated. |
| Bent or twisted brim | Intended curve, edge symmetry and insert condition | Guide both sides toward the original outline without a sharp bend. |
| Wrinkled fabric | Coating, print, patch, embroidery and backing | Smooth by hand; consider moisture only if compatible. |
| Shape changed after washing | Which part changed, whether still damp and whether size changed | Support the intended profile; do not wash it again by default. |
If you are unsure which part is causing the problem, look at where the crown meets the brim and where the front panels join the side panels. Changes at a seam or in the insert cannot always be corrected by pulling at the surface. Photographing the front and side views before you begin helps you judge whether each step is improving the cap or moving the distortion elsewhere.
How to Reshape a Baseball Cap Step by Step?
1. Check the Care Instructions and the Damage
Read the label and inspect the shell, brim, front support, and logo. Note any hard crease, cracked finish, loose patch, or separated backing. If a component already looks damaged, keep your first attempt dry and gentle. Do not assume that a cap can withstand the same treatment that worked on another one.
2. Ease the Cap Back by Hand
Open the crown from the inside with your fingers and guide indented fabric outward using light, even pressure. Hold the brim near its base when you assess its outline rather than pulling hard at one corner. Work toward the cap’s previous shape in small adjustments. A firm tug can shift a seam, distort embroidery, or create a new crease.
3. Support the Intended Form
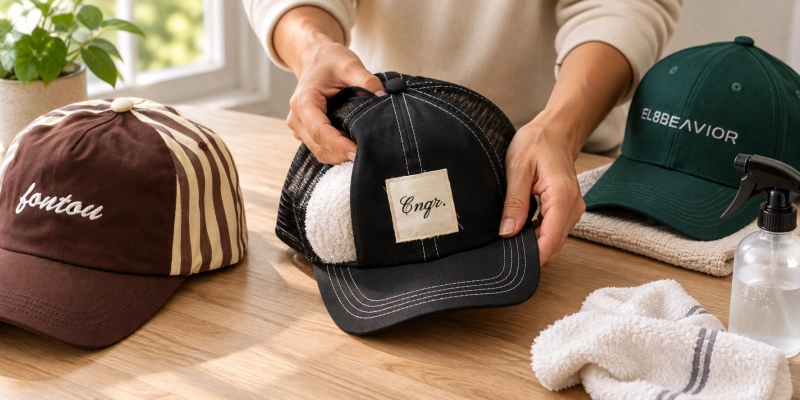
Place a clean, suitably shaped form inside the crown, or loosely fill it with clean, colorfast material. The support should hold the profile without stretching the sweatband or forcing the front higher than it was designed to sit. Check the cap from the front and side. If the brim needs support, position it so it is not pressed flat under the crown or hanging against a hard edge.
4. Consider Moisture Only if the Cap Allows It
If dry forming is insufficient and the finished cap’s care information permits moisture, lightly dampen the affected fabric rather than soaking the whole cap. Keep moisture away from a questionable brim insert, bonded trim or decorated area. Work gently while the compatible fabric is pliable. For a cap that cannot be confidently dampened, retain the dry support method or seek specialist advice.
5. Let It Set and Recheck
Leave the cap supported in a ventilated place until every affected layer is dry. Keep it away from a radiator, space heater, and direct hot-air blast. Remove the support and compare the result with your reference. Stop if an insert, coating, adhesive or decoration changes unexpectedly. More pressure or heat will not repair a permanently broken component.
This sequence gives you a lower-risk starting point. It does not guarantee that an old crease will disappear or that the original fit will return. If the cap is valuable, irreplaceable, or visibly fragile, the least aggressive choice may be to ask a specialist to assess it.
How to Reshape a Baseball Cap With Steam?
Steam can make some fabrics easier to reform, which is why it appears in many reshaping guides. It also brings heat and moisture to internal layers that you cannot see. Check the complete cap and its care instructions before considering it.
Synthetic components, coatings, foam, adhesive patches, leather or suede details, and heat-applied graphics can be sensitive even when the shell fabric seems suitable. A material name alone does not approve steam for the finished product.
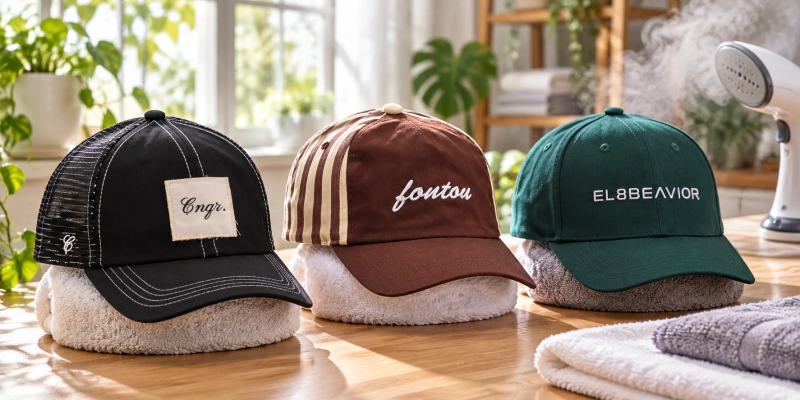
If the cap’s components are known to tolerate steam, begin with the smallest affected fabric area and keep it clear of hot metal, a kettle spout, or any direct heat source. Let a little steam relax the fabric without saturating the brim or front support.
Remove the cap from the steam, then use your hands to guide the pliable area gently toward its intended shape. Put it on a clean form and let it air dry before judging the result. Protect your hands and face from hot steam. Follow any product-specific instructions over this general approach.
Stop if you notice color transfer, shine, puckering, softening, warping, a lifting patch edge, or a change in the feel of the internal support. Do not press an iron plate against the cap, and do not treat a heater as a drying shortcut. There is no steam distance, temperature, or exposure time that can be promised for every baseball cap. If you cannot confirm compatibility, use gentle dry forming or consult a professional instead.
How to Reshape the Crown or Front Panel?
If a soft crown has been flattened in a bag, start from inside. Open the panels, align the seams, and place a loose support beneath the area that lost volume. Let the fabric settle around that form rather than stuffing the cap so tightly that the circumference changes. A small surface wrinkle may relax as the crown is supported; an established crease may remain visible.
A structured front calls for more caution. Look for a bend line in the support, a dent in foam, or a patch that pulls the panel to one side. Support the front from within and apply only gradual hand pressure. If the outer fabric moves but the backing stays collapsed, the problem is likely deeper than a wrinkle. Repeated steaming of the surface can add risk without rebuilding the support.
A permanently folded or separated reinforcement may need a repair assessment, and a repair may not reproduce the original factory profile.
Do not use the brim as a handle to lever the front upright. The crown and brim have different internal constructions; forcing one part to correct the other can damage both. If the profile looks right while supported but collapses when you remove the form, that is useful evidence that the structure is not holding on its own.
How to Reshape a Bent Baseball Cap Brim?
First, identify the brim’s intended finished curve. Check a product photo or another approved cap of the same style if one is available. For an accidental twist or uneven edge, hold the brim with both hands and guide it gradually toward that outline. Compare the left and right sides after each small adjustment. Do not create a sharp fold, press it against a table edge, or assume that a stiff insert will respond like a flexible one.
If the brim feels fractured, forms a hard angle, makes a cracking sound, or shows separation between its layers, stop. Surface fabric cannot restore a broken insert. Avoid water or steam when the insert or the brim decoration is unknown.
The baseball cap brim guide explains the layered construction and why the desired curve should be approved on a finished sample. This section is for returning an accidentally distorted brim toward its original form, not converting a flat brim into a curved style or the reverse.
How to Reshape a Baseball Cap After Washing?
If the cap is still damp and only slightly out of form, gently align the crown and brim with their intended profile, support the crown, and let it air dry. Avoid stretching a shrunken sweatband to force a fit or bending a wet brim whose insert is unknown. If the cap has already dried with a collapsed front, a twist or a sharp crease, return to the construction checks and choose the least aggressive restoration step that fits the damage.
Do not wash it again simply because the shape looks wrong. More wetting may worsen the condition of an insert, dye, or adhesive. For choosing a cleaning method and preserving shape during routine drying, see how to wash a baseball cap. That guide handles cleaning; this one addresses the deformation that remains.
When a Baseball Cap May Not Return to Its Original Shape?
Hand forming can improve a temporary dent, but not every loss of shape is reversible. A sharp crease in an internal reinforcement, a warped or fractured brim insert, separated lamination, failed adhesive, heat damage, or distorted embroidery may limit recovery. Shrinkage can also change the fit even if you smooth the outer panels. You cannot diagnose the exact cause from a photograph alone.
Watch what happens when you remove the support. If the crown immediately falls back into the same collapsed position, the internal build may no longer hold the intended profile. If the brim keeps a hard angle or its layers separate, additional bending may make it worse.
Stop when the treatment causes a new change in color, texture, bonding, or symmetry. For a valuable cap, ask a qualified repair specialist whether the component can be repaired; replacement may be more realistic for a severely damaged insert. Avoid promising that a recovered surface appearance means the original construction or fit has returned.
How to Prevent Baseball Caps From Losing Their Shape?
Store a cap where the crown and brim are not compressed by heavier items. Allow a damp cap to dry completely on a suitable support before putting it into a closed box. If you pack several caps, check that nesting does not press one brim into another front panel. A soft cap may tolerate some packing that would leave a firm front creased, but you still need to consider its brim, decoration and intended appearance.
For shipping, carton pressure, stacking and movement can affect the approved silhouette. A cap that looked correct at final inspection can arrive with a dent if the front or brim is unsupported. Review packing with the actual decorated sample rather than assuming one carton arrangement works for every shape. If a cap does become misshapen, determine what was compressed before applying the recovery steps above.
What Custom Cap Buyers Should Specify for Shape Retention?
If you are developing a branded cap, define the shape you want before production. Send front and side reference images, identify the target crown profile, and state whether the front should be soft or reinforced. Confirm the brim’s finished curve and firmness, along with any embroidery, patch, transfer, or trim that may affect the front panel. A label such as “structured” does not specify every layer or predict how the cap will respond after packing.
Review a finished decorated sample on and off the head. Check whether the front remains even, how the brim joins the crown, and whether the decoration pulls or stiffens one area. Record the approved appearance in clear photos and agree how caps should be packed to protect it.
If washing, steaming, or shape recovery matters to the product concept, discuss the intended care wording and the evidence required to support it on that finished construction. Do not base a care claim on the shell swatch alone.
HENGXING’s custom baseball caps program includes choices in crown construction, fabric, brim, decoration, labeling, and sample approval. You can use those decisions to specify your target silhouette and packing expectations. This does not imply a guarantee that a cap can be restored after it is crushed or a claim that a formal reshape test is supplied for every project; confirm project-specific requirements during development.
FAQs
Can You Reshape a Crushed Baseball Cap?
Often you can improve its appearance if the panels and internal support are only temporarily compressed. Inspect for a permanent crease, insert fracture, or separated backing first. Begin with gentle hand forming and a suitable crown support. A cap with damaged internal components may not return fully to its former profile.
Can You Use Steam to Reshape Any Baseball Cap?
No. Steam is an option only when the finished cap’s fabric, insert, reinforcement, decoration, and care instructions allow heat and moisture. Even a cap with a familiar cotton shell can have a sensitive patch or brim insert. Avoid steam when you cannot confirm compatibility.
How Do You Reshape the Crown of a Baseball Cap?
Open the crown gently from inside, align the panels, and support it in its intended form. Check whether the front is soft or has reinforcement. If the reinforcement has a lasting fold or has detached, manipulating the shell may not restore the original crown shape.
Can You Fix a Twisted Baseball Cap Brim?
You may be able to ease a small accidental twist toward the brim’s original curve using gradual, even hand pressure. Stop if you feel a hard crease or see damaged layers. Do not try to redesign the brim or force a stiff insert into a new shape.
What Does It Mean to Reblock a Baseball Cap?
People sometimes use “reblock” to mean restoring a cap’s crown shape over a form. Baseball caps vary in construction, so the term does not identify one universal home or factory process. Your method still depends on the front support, brim insert, fabric, and decoration.
Will a Cap That Lost Shape After Washing Recover Completely?
It depends on what changed. A damp, slightly uneven crown may improve with careful support as it dries. A collapsed reinforcement, distorted brim insert, or shrunken band may not recover through surface reshaping. Inspect the affected part before applying more moisture or heat.
Restore the Intended Shape Carefully
When you reshape a baseball cap, diagnose the crown, front support, and brim before choosing a method. Start with gentle hand forming, add moisture or steam only when the complete cap permits it, and stop if a component changes unexpectedly.
If you are specifying custom baseball caps for a brand, share the target profile, decoration, and packing requirements with HENGXING so the approved sample defines the shape you expect to receive.