
You can embroider a baseball cap by hand or with a compatible embroidery machine. The challenge is keeping a curved crown stable while working around panel seams, the brim, the sweatband, and the back closure. A method that works on flat fabric may place the design outside the cap’s usable stitching area or let the crown move under the needle.
Start with the cap you actually plan to decorate. Look inside it, check where your design will sit, and choose a method that gives you access to that area. This guide takes you through materials, cap construction, machine framing, hand stitching, front and rear placement, and the checks to make before you call the cap finished.
Hand vs. Machine Embroidery: Which Method Should You Use?
Hand embroidery works well for a one-off design, a small motif, or a softer area you can reach comfortably from inside the cap. You can control each stitch, but dense fills, repeated lettering, and a run of identical hats take considerable time. A stiff front, thick seam, or narrow back section also makes it harder to move the needle through the fabric.
Machine embroidery suits repeat designs when you have a machine, frame, or hoop method compatible with that cap. The artwork must be digitized for stitching, the crown must be secured, and the design must fit the actual usable field. It is more repeatable once a sample is approved, although the result still depends on framing, backing, the cap’s construction, and the stitch file.
If your machine cannot safely hold the assembled cap, choose a compatible method or have a specialist handle the decoration; do not force the cap into a frame.
What Do You Need to Embroider a Baseball Cap?
For machine embroidery, gather the cap, a machine-compatible cap frame and driver or another approved hooping setup, appropriate stabilizer or backing, embroidery thread and a needle suited to the cap and machine, a digitized file, removable placement marks, and small trimming scissors. A test cap in the same construction is useful when you will repeat the design. The machine and frame manuals determine the fitting procedure and usable sewing field.
For hand embroidery, use a cap, hand-embroidery needle, embroidery floss or another suitable hand-stitching thread, small scissors, and a removable transfer method. A small hoop can help where it fits without distorting the crown; a compatible temporary stabilizer can help support a soft area or carry the design. Test any marking or wash-away material on a discreet area first, particularly if the cap has a shaped brim, colored trim, or a care label that limits wetting.
Neither list specifies a universal needle size, backing weight, or thread tension. Those choices depend on the material, design, machine, and trial results.
How Cap Construction Affects Embroidery?
An assembled cap has a three-dimensional crown. The brim limits how low the embroidery mechanism can travel; seams and internal layers change the resistance under the needle. Look inside the cap without forcing its crown out of shape. Check the front support, seam tape, sweatband, and closure, then decide whether you can keep the intended area smooth and accessible.
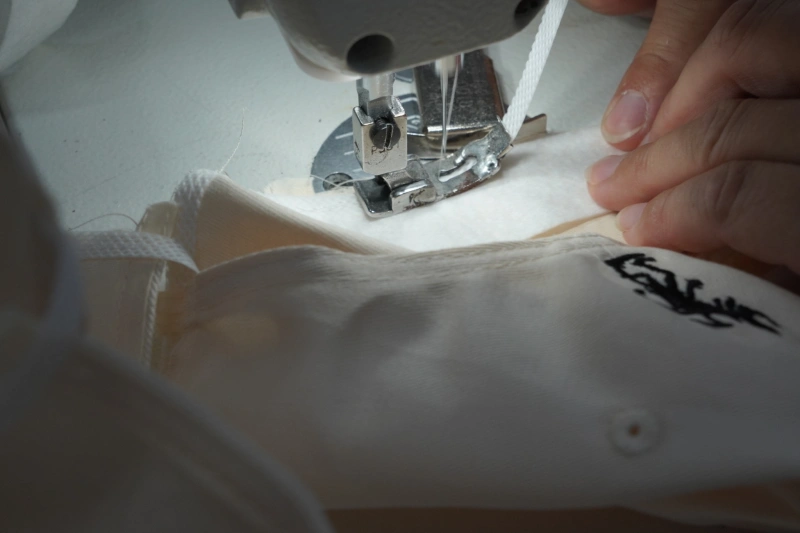
Structured vs Unstructured Caps
A structured cap has support in its front panels; an unstructured cap has a softer front. The built-in front-panel stiffener is part of the cap’s construction. It is different from embroidery backing added to support the fabric during stitching. The firmer panel may hold its shape during machine decoration, while a soft front can require more attention to backing and restraint.
That does not mean every structured cap needs no backing, or every unstructured cap needs the same number of layers. The design and the fabric also matter. For hand work, a softer panel is often easier to reach, but it can distort if you pull the thread too tightly. Compare the constructions in structured vs. unstructured hats before choosing a blank.
Why the Center Seam Matters?
On many six-panel caps, a seam runs down the center front. It adds thickness and can change how a fill or small letter stitches as the needle crosses it. A five-panel style often has a different front layout, but a five-panel label alone does not guarantee a flat, seam-free decoration area.
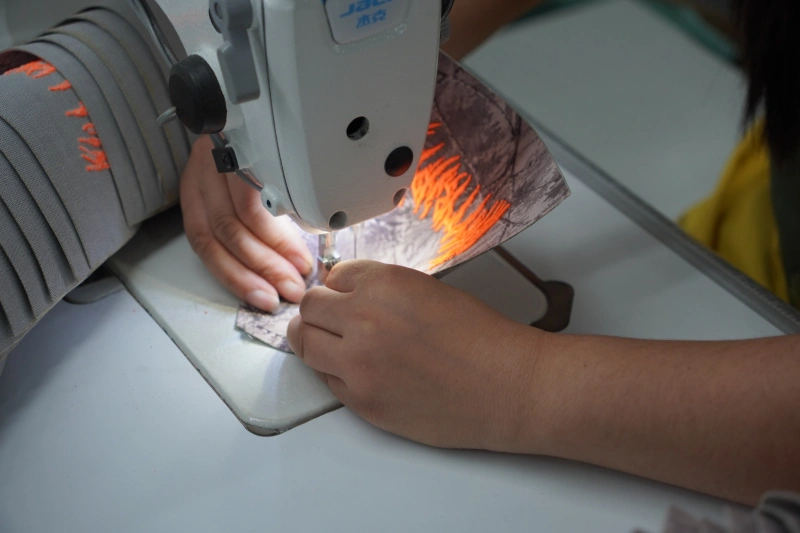
Inspect the actual pattern and support. A design over a seam may be possible with suitable digitizing, framing, and a sample; placing delicate lettering directly across a raised seam creates more risk. The 5-panel vs. 6-panel hat comparison covers the broader construction differences.
Embroidery Before or After Cap Assembly? Some decoration is applied to a flat panel before assembly; compatible equipment can also embroider a finished cap. The feasible stage depends on placement, construction, and the production method. For the broader sequence of cutting, decoration, and sewing, see how baseball caps are made.
How to Machine Embroider a Baseball Cap Step by Step
The following order is a general workflow, not a control sequence for every embroidery machine. Consult the instructions for your exact machine, cap frame and cap style before mounting the frame or running a needle path.
Step 1: Prepare and Digitize the Design
Start with artwork at its intended finished size and position. Identify thin lines, small text and any element crossing the center seam. A digitized embroidery file contains machine-readable stitch instructions; it is not simply an image exported to a different format. Review fill direction, underlay, stitch order and jump stitches with the digitizer for the particular cap.
A file that works on a flat shirt may need adjustment on a curved crown. For artwork aesthetics and broader placement choices, use the baseball cap logo design guide; here the immediate question is whether the mark can sew cleanly in the available field.
If you are preparing a batch, test the file on the selected cap construction before approving it. Inspect fine letters and any seam transition at the actual size instead of judging only a screen preview.
Step 2: Choose the Stabilizer or Backing
Backing supports the fabric as stitches pull against it. Without enough support, a soft crown may shift, pucker, or lose registration. A heavily supported front can behave differently from an unstructured panel, and a dense design can change the backing requirement even on the same cap. Position the chosen material as your frame and backing manufacturer directs; keep it under the full design area without bunching in the needle path.
Do not assume that one cut-away, tear-away, adhesive, or cap backing works for every hat. Review the cap fabric, front support, stitch coverage, and appearance on the inside after a trial. If a temporary adhesive or heat-applied product is considered, follow its own compatibility and care directions.
Step 3: Mark the Position and Centerline
Mark the intended design center with a removable method safe for the fabric. Align it with the cap’s visual center, using the front seam as a reference where appropriate, then verify that the planned design remains inside a usable, relatively smooth field. Check clearance from the brim seam, nearby panel seams and any hardware. For a side or rear logo, the midpoint of the entire cap is not necessarily the midpoint of that specific embroidery area.
Look at the cap as it will be worn before you commit. A panel can appear centered while lying on a table and look different when curved around the head. Make your final position decision on the actual cap sample.
Step 4: Hoop or Frame the Baseball Cap
How you hoop a baseball cap for embroidery depends on the equipment. On a dedicated cap-frame system, mount the frame on its hooping station, place backing, and seat the cap so the brim, front center, and retaining band align according to that frame’s instructions. Secure the cap without folding the target panel. Then attach the framed cap to the compatible driver as the machine manufacturer specifies.
Some home or single-needle setups use a compatible flat hoop, adhesive-backed stabilizer, or specialized insert for a suitable cap and accessible area. That is an equipment-specific alternative, not a universal substitute for a cap driver. Confirm that the brim and excess crown can stay clear through the full machine movement. Never enlarge the design to the frame’s advertised maximum without checking the real sewing field on your cap.
Step 5: Secure Loose Parts and Check the Needle Path
Move the sweatband out of the stitching area in the way your frame instructions allow. Keep the closure, rear strap, excess fabric, and any clips away from the needle, presser foot, and moving carriage. Check that the brim sits where the frame expects it, rather than riding above a stop or pushing the crown out of alignment. A cap that looks taut at the front can still shift if its sides or rear are loose.
Before starting, inspect both the outside and inside. The backing should cover the design area, the crown should be smooth, and nothing should be trapped behind the stitch field. If tightening the frame creates a ridge, release and reframe the cap rather than hoping embroidery will flatten it.
Step 6: Check the Design Path Before Stitching
Select the correct frame or hoop setting on the machine and confirm the design orientation. Use the machine’s tracing or boundary-check function, if available, to verify clearance from the frame, brim, seams, and other obstacles. Check the active needle’s start position against the marked centerline. A digital preview alone cannot reveal a cap slipping in the frame, so perform a physical clearance check according to the machine manual.
For a new combination of cap, artwork, and backing, sew a trial. Examine whether a seam disrupts the fill, small letters close up, or the fabric gathers. Revise the file, placement, or support before repeating the problem across a production run. Settings such as speed and thread feed should follow your machine’s guidance and the sample result, not a number copied from another model.
Step 7: Embroider and Monitor the Design
Begin stitching only after the frame is locked and the work area is clear. Watch the first part of the design for fabric movement and registration, then monitor thread behavior and any stitch crossing a seam. Stop the machine if the cap shifts, the thread repeatedly breaks, the needle meets an obstruction, or the design starts sewing outside the intended field. Resolve the cause before resuming.
Many cap designs are planned to manage the fabric from a central area outward, but the correct stitch sequence depends on the artwork and equipment. Treat a suggested sequence as a design decision for the digitizer, not as a universal rule or a description of HENGXING’s production settings.
Step 8: Remove, Trim and Inspect
Once the machine has stopped, release the cap according to the frame instructions. Trim or remove only the excess backing appropriate to the material: cut-away backing is normally trimmed around the design, while tear-away backing is removed carefully according to its instructions. Do not pull against the stitches or cut the inside fabric. Trim loose jump threads.
View the logo both flat and on a head form or worn cap: look for alignment, readable small text, missing stitches, uneven fill, puckering, distorted edges, and visible marks from the frame. Check the inside for thread tails and backing edges that need finishing.
If the hat is a production sample, compare it with the approved artwork and placement reference. The site’s baseball cap quality checklist provides a wider finished-product inspection framework.
How to Hand Embroider a Baseball Cap?
Hand stitching is a practical route for a small personal design when you can reach the back of the fabric. It does not require a cap driver or a digitized file, but you still need to keep the crown steady and avoid sewing the sweatband or another layer into the motif by accident.
Step 1: Choose an Accessible Area
Try a softer front or side area that you can hold comfortably with one hand inside the cap. Examine the back of the chosen panel before you begin. Avoid an especially stiff front insert, thick joined seam or closure hardware if you cannot pass the needle safely through the intended spot. Start with a small design whose edges remain visible on the curved surface.
Step 2: Transfer the Design
Lightly mark the design with a removable fabric marker after testing it on a hidden area, or use a compatible printed, water-soluble transfer material. Position it while the cap has its normal shape. Do not stretch a soft panel flat just to fit a pattern; it may spring back and distort the motif. Check the cap’s care label before choosing a transfer that must be rinsed away.
Step 3: Stabilize and Hoop Where Possible
A small hoop may hold an accessible section, but it should not crease a structured crown or catch the brim. If the hoop cannot sit evenly, support the panel by hand and use a suitable temporary stabilizer where the material and removal method permit. Keep the area smooth. A hoop is helpful only when it improves control without deforming the finished hat.
Step 4: Stitch the Design
Bring the threaded needle through from inside the cap and follow the transferred lines with a simple stitch suited to the motif, such as backstitch for an outline. Keep the tension firm enough to lie flat but loose enough that the panel does not draw inward.
Work in short sections, repeatedly checking the front and inside so the thread does not catch the sweatband or travel across the brim structure. If a section puckers, undo it and reduce the pull before continuing.
Step 5: Finish and Remove the Transfer
Secure the thread ends inside without leaving hard knots against the wearer. Trim the excess. Remove a washable transfer only according to its product directions and the cap’s care instructions; if either is uncertain, test on a spare matching cap or choose a dry-removal marking method.
Let any damp area dry in shape and inspect for stains, distorted fabric, and loose stitches. Hand embroidery is not necessarily suitable for a dense logo that must repeat identically across a large order.
How to Embroider the Front, Side and Back of a Baseball Cap?
Front
The front is a common location for a larger mark, but its usable stitching field varies with the crown height, front support, brim, and center seam. Align the design against the actual frame field. If the artwork crosses the seam, sample the result and check lettering and edge quality where thickness changes.
Side
A side panel offers a different curve and often a smaller accessible area. Check whether the cap frame can reach it without the brim, adjacent seams, or clamps limiting travel. Some setups need a separate framing method for the side. Choose a design size that fits the field you can actually stitch, not a generic side-logo dimension.
Back
To embroider on the back of a baseball cap, first check the opening, closure, and rear seams. Mark the center of the chosen rear area, keep the strap and hardware clear, and confirm that your frame can hold the curved section. Small text may be possible, but legibility depends on the available field and stitch file. A frame advertised for front embroidery may not support the back; verify the manufacturer’s compatibility before mounting the cap.
These are setup differences. For choosing the most suitable visual position for a brand mark, use the dedicated logo-design guide linked above.
Common Baseball Cap Embroidery Problems and How to Fix Them
| Problem | Possible Causes to Check | What to Review |
| Off-center design | Centerline, seam alignment, or frame movement | Re-mark on the worn shape; reframe and check the start position. |
| Puckering | Too little support, fabric movement or stitch pull | Review backing, frame tension and digitizing on a matching cap. |
| Cap shifts while sewing | Loose framing or unsupported crown | Stop, inspect the retainer and backing, then reframe. |
| Thread or needle breaks | Thread path, needle condition, seam thickness or obstruction | Stop and inspect the machine and stitch path before restarting. |
| Uneven stitching over a seam | Abrupt thickness change or unsuitable stitch plan | Check design placement, underlay and the trial sample. |
| Small letters fill in | Detail too fine for the sewn size or dense stitching | Simplify or redigitize at the actual finished size. |
| Misregistered colors or edges | Cap movement, insufficient support, or stitch-file behavior | Compare the stitch sequence, framing and backing on a trial. |
A symptom can have several causes. Change one relevant factor at a time on a test cap, and follow the machine manufacturer’s troubleshooting procedure for repeated breaks or contact with the frame.
Flat Embroidery or 3D Puff?
Flat embroidery forms the design directly on the cap surface. 3D puff embroidery places embroidery foam beneath suitable stitched areas to create a raised effect; the file must be digitized for that technique, and suitability depends on the artwork and cap construction. A fine detail that works in flat embroidery should not automatically be converted to puff. The flat embroidery vs. 3D puff guide covers the choice in detail.
FAQs
Can You Embroider a Baseball Cap With a Regular Embroidery Machine?
Sometimes. It depends on whether the machine has a compatible frame, insert, or other approved method and whether the assembled cap can move through the full design path without collision. Check the machine and accessory manuals. Do not assume an ordinary flat hoop will safely hold every structured cap.
Do You Need Stabilizer for Baseball Cap Embroidery?
Often, especially on a soft cap or a design with substantial stitch coverage. A supported front and a lighter design may behave differently. Decide based on the cap construction, equipment guidance, and a trial rather than applying one backing rule to every cap.
How Do You Hoop a Baseball Cap for Embroidery?
On a compatible cap-frame system, position the backing and cap on the hooping station, align the front and brim, secure the retainer, and attach the frame to the correct driver. Exact handling varies by frame; verify the sweatband, clearance, and the machine’s selected sewing field before stitching.
Can You Embroider Across the Center Seam of a Cap?
Yes, on some designs and constructions, but the added thickness can disturb small lettering and dense areas. Sample the design on that specific cap and revise placement, support, or digitizing if the stitches become uneven.
How Do You Embroider on the Back of a Baseball Cap?
Use a setup approved for rear access. Mark the intended rear center, move the closure and sweatband clear of the needle path, stabilize the area, and confirm the frame’s usable field. Test the size and readability of any small text before repeating it.
Is It Easier to Embroider a 5-Panel or 6-Panel Cap?
Neither panel count is automatically easier. Many five-panel styles avoid a center-front seam, while many six-panel fronts have one. Front support, curvature, fabric, and the exact design can matter more than the panel count. Review samples of the chosen styles rather than relying on the label alone.
From a Trial Cap to a Repeat Order
For one cap, you can adjust placement and stitching as you work. For repeated hats, the approved cap construction, digitized file, framing method, and decorated sample give you a reference for checking consistency. If you are sourcing a run of custom caps, see HENGXING’s embroidered baseball caps and provide the artwork, preferred position, cap style, and quantity for project-specific review.